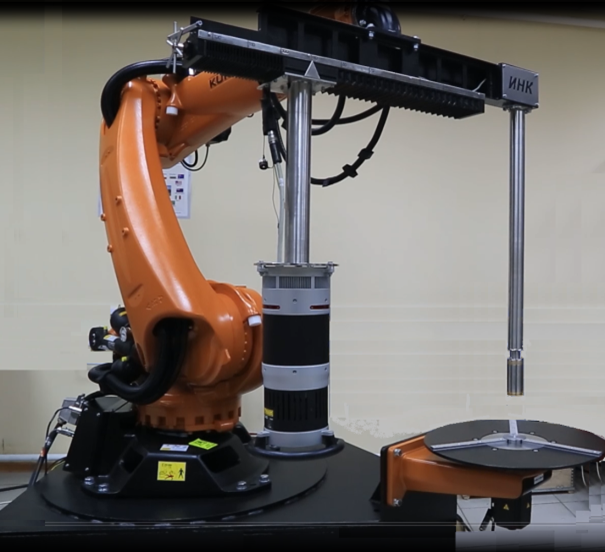
The system is designed for radiation monitoring of weld seams of rotors of gas turbine engines, cylindrical thin-walled casings and small-sized castings.
The system receives a digital image of the monitoring object on the line of X-ray detectors during scanning in the fan beam of the X-ray source and carries out its processing, analysis and archiving.
Developed together with the Department of Physical Methods of Non-Destructive Testing TPU.
| Characteristics of a spiral tomograph: | |
| Name | Value |
| Maximum dimensions of the controlled sample (diameter, height), mm | 700×1000 |
| Minimum dimensions of the controlled sample (diameter, height), mm | 200×150 |
| Maximum mass of the sample to be monitored, kg | 200 |
| The minimum step of the angular displacement of the object, deg | 0,001 |
| Measured metal thickness (in steel), mm | 2% |
| Spatial resolution (line pairs per mm) | 5 |
| Overall dimensions of the system (width, depth, height), mm | 2000×1400×2000 |
| Anode voltage, kV | up 450 |
| Weight (kg), no more than: | 2000 |
| The supply voltage of the complexes from the alternating current network, V | 380±10% |
| Detector size | 2048х2048 |
| Power consumed by the complex from the alternating current network, kW, not more than: | 15 |
| MTBF, h, not less than | 6000 |
| Average service life, years | 10 |

